Small urban farm – design principles in our new plot
Author : My Food Garden
Establishing a small urban farm is a challenging and exciting task. We recently moved house to a bush land property only 35 minutes from Brisbane CBD. The 20 hec land is bordered by a creek and we live on a portion of the property. Our goal was to create a small urban farm that:
- Fitted into the landscape with minimal resources,
- Optimised water and fertility processes,
- Was functional and easy to manage
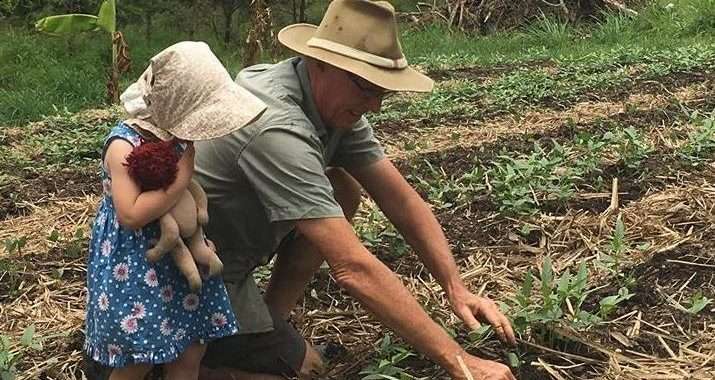
- Produced sufficient vegetables and herbs for 2 families with excess to be sold
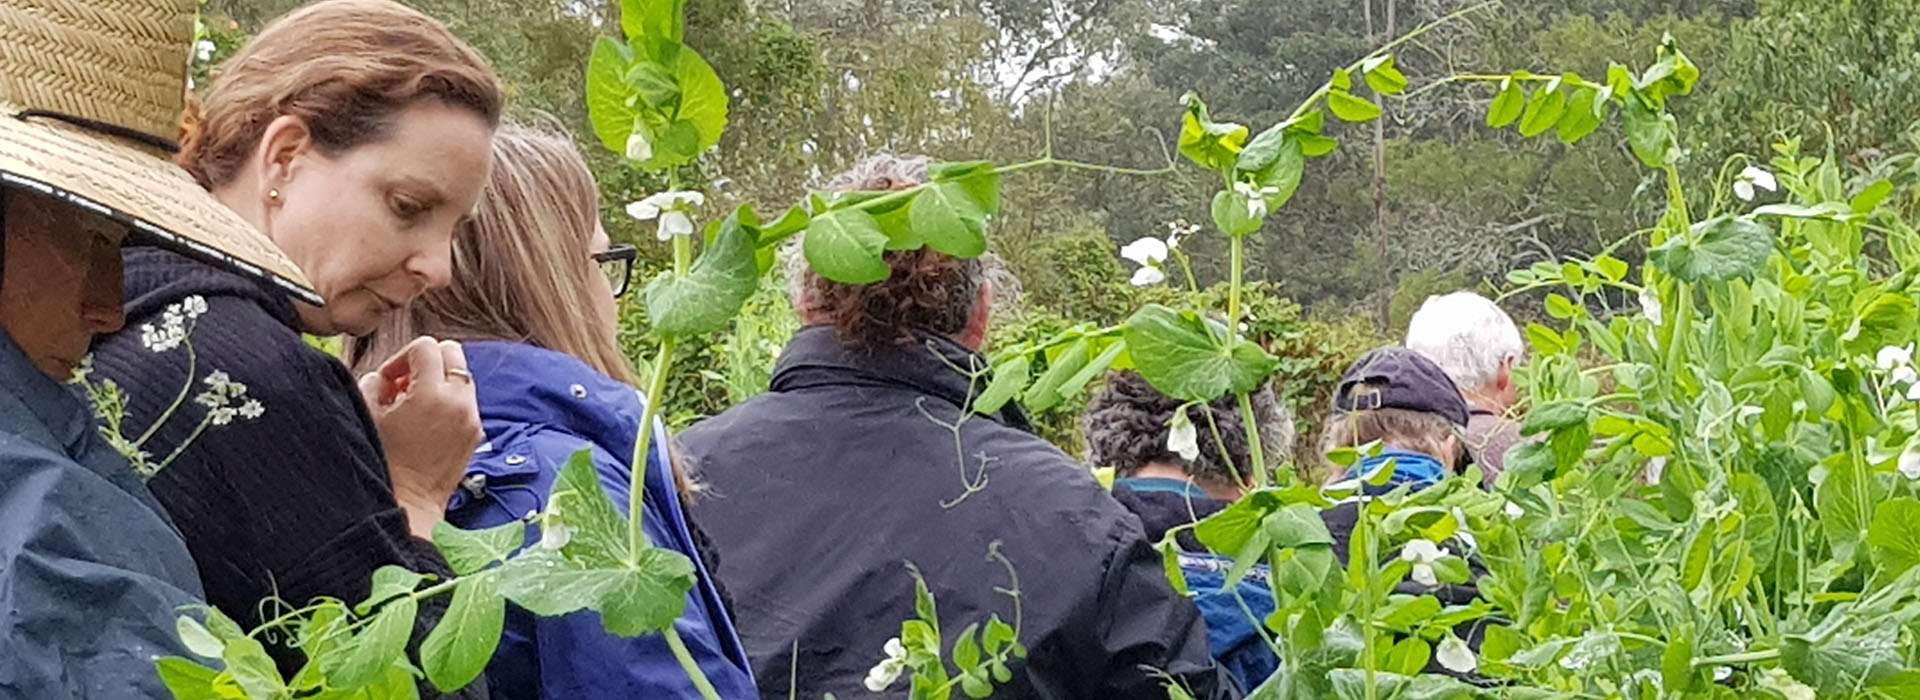
- Could be used as a teaching and demonstration space for our workshops
- Timing of soil fertility processes optimised commencement in our hot/wet season
Here are some key points of the design and photos of the site evolving from a grassy patch to its state at 4 weeks from commencement. Our small urban farm started on 18 Dec during our hot/wet season.
The location
- Well away from tree roots
- Good sun levels year round, but especially from April to October when the sun is more in the north and climate is ideal for a large number of crops.
- Good drainage
- Space can be expandable, if required, starting with a starting area of 200 m2
- Relatively close to the house, easy to access for people and vehicles (to bring compost ingredients)
- Close to a sitting area for our workshops and services areas for composting, seedling propagation and shed for tools.
Creating the space
- Marked out gross area and worked out how to get 8 beds of 15 m long and up to 1 m wide, with 30 cm paths and central path of 1 m for barrows
- The beds run east/west and the slope is north/south
- The gross bed area and paths takes up 160 m2 with bed area at 120 m2 and paths 40 m2. The lower garden edge for perennials and the upper edge for composting takes the total area to approximately 200 m2
- Cut the grass very short over the space with a mower
- Hired a rotary hoe for 1 day at $70 and hoed off the grass and loosened the hard pack soil on the surface. This took a full day of work with my farmer son Daniel, over from Germany for his holidays, doing most of the work. It was a very hot day.
Bed preparation
- Day after hoeing, we had a working bee of friends with 6 people attending, started at 7 am and finished at 12. It was 37 c by lunch time, so a good time to stop
- Our aim was to create all the beds. We managed to get 5 done out of 8.
- In creating the beds, we put in string lines for each bed and path and then began digging into the bed to loosen soil further and also digging down into the path. The top soil from the path was then shoveled onto the bed, thus increasing the bed depth
- We achieved an average of 15-20 cm top soil depth in beds and the base was clay with many small rocks. This is quite a good base as the fertility processes will turn the clay into soil
- We continued from top to bottom following the process described above.
- In the afternoon of the same day when it cooled down my 2 other sons arrived home and I then had my three strong sons at work finishing off the remaining 3 beds so we had the whole bed layout completed by the end of day.
Starting soil fertility processes for our small urban farm
- Once we had cut the grass on day 1, we applied biodynamic horn manure to help get soil life moving
- As we created each bed we added: crushed rock with high paramagnetic capacities, gypsum to help break down the clay base and aid the sulphur and calcium processes, very diluted liquid cow manure containing biodynamic compost preps which balance all key minerals and cow manure dug down into the soil base (for the 7 beds where a green manure was being planted.
- Green manure crop of cow pea planted in 7 beds, this is great at fixing nitrogen and it grows extremely well in our wet season. It will take 2 months to reach full height and we will cut it down, leave it on the beds for 1 month and then start planting seasonal veg
- Bed 8 was the lowest bed with the deepest soil, so we added a 5cm layer of our biodynamic compost to this bed and then considered this as our first cropping bed, since beds 1-7 were being used for green manure
- With the gods smiling on us that day, it rained that evening to wet the soil and give the green manure seeds their first moisture
Cropping and mulching
- For bed 8, we planted hot season crops: snake beans, cucumbers, zucchinis and capsicums and will also be planting some Asian green and cos lettuce (after creating some shade structures)
- Border plants we put in as follows:
- End of each bed: french sorrel, calendula, chives, comfrey, thyme or oregano
- Below bed 8, six bananas with comfrey around them to aid fertility
- Out of the 120m2 of bed area, we should expect up to 8kg per m2 of crops over the year, so that would be close to 1000kg. With 2 families eating about 15kg of veg each per week, this yield would cover about 75% and have some surplus of particular crops, such as high value herbs. Its possible our yield per m2 will be lower in the first year, so we may need to lower that expectation to 50%. This is still a valuable quantity of nutrient dense bio-dynamically grown food. Average retail cost of that volume of biodynamic veg and herbs would be a minimum of $8 per kg, so up from $6000 – $8000 worth.
- Heavily mulched all paths and bed 8 with sugar cane mulch, large bale cost $100.
Drainage and watering
- The garden is about 10m from a crest of the slope it sits on, as such it will not have a large overland water flow.
- Given that beds are cut into the slope with no hard edges and paths heavily mulched, rain water and moisture from watering the beds will gradually move down the slope without creating erosion, thus getting maximum advantage from water and soil fertility processes.
- In the first 3 months, the beds are being hand watered and once all beds are being used for cropping, a drip tape irrigation system will be established with 2 drip tapes per bed.
- The combination of bed design/layout/orientation with soil fertility processes building humus will increase water holding capacity and reduce volume of water required
- We are using tank water for irrigation
Other items
- Compost bays built at the top of the slope, 3 bays, one bay for compost brewing, one for finished compost and one for accumulating garden scraps. We make hot compost heaps every 4 months as they take 4-5 months to complete
- Bird bath put into the middle of the space and this has already attracted a family of magpies to make it their territory
- Monthly application of biodynamic soil and plant conditioners. This will be one or more of: BD soil activator, BD horn manure and horn silica, BD she-oak ferment for silica processes and disease management and BD compost and compost tea
- With the disturbed soil from cultivation, we have noticed quite a bit of nut grass coming up, so we are making a BD nut grass pepper on this coming full moon and will apply this each month for the next 4 months to help stop the nut grass reproducing.
Cost and yield
Total cost of materials and equipment for the garden set up and compost bays was about $350. Labour was free, fortunately. Up to 1000 kg per year valued at $6000-$8000. I will keep you posted on the progress of our small urban farm.
How can we help your small urban farm?
Come along to one of our Workshops or talk to us about our Coaching service.
Authored by: Peter Kearney – www.beta.myfoodgarden.com.au